


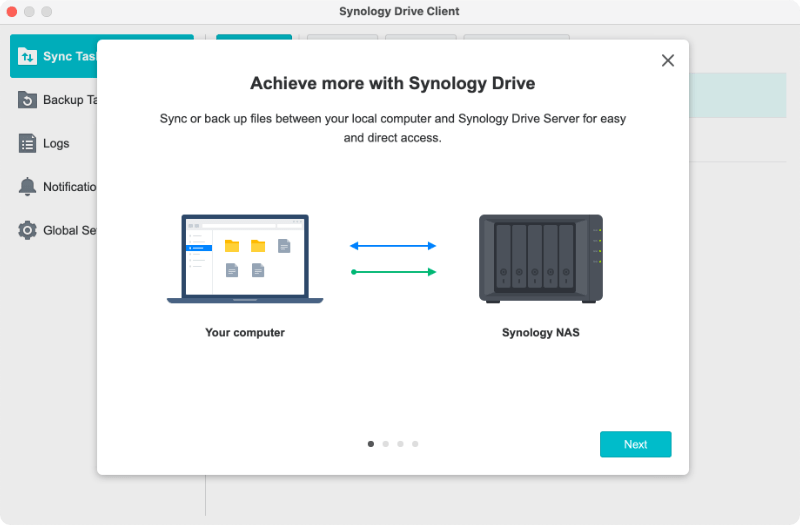
Cloud document storage CloudMCG
Documents sharing with accountant
The cloud-based document sharing feature is provided only for clients of the accounting company MIA CONSULT GROUP Sp. z o.o.
Select type of access:
 Web
Web
 MacOs
MacOs
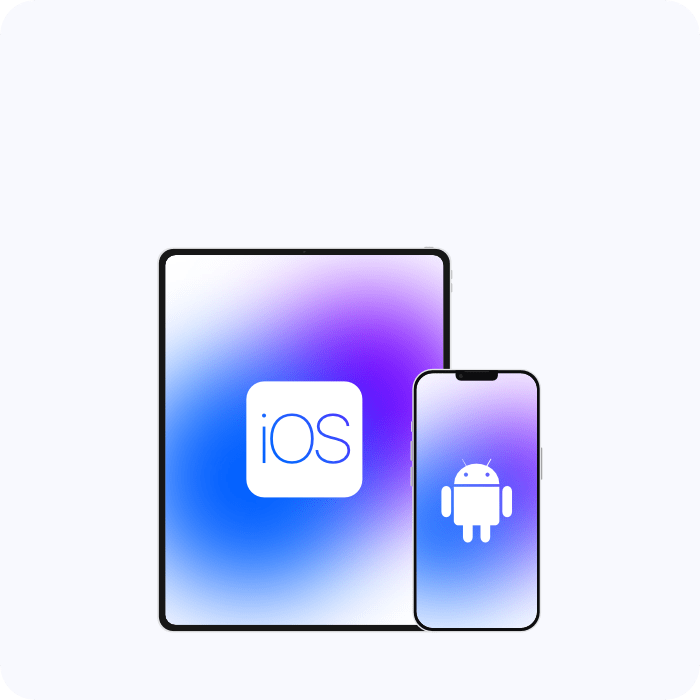
 IOS & Android
 Windows

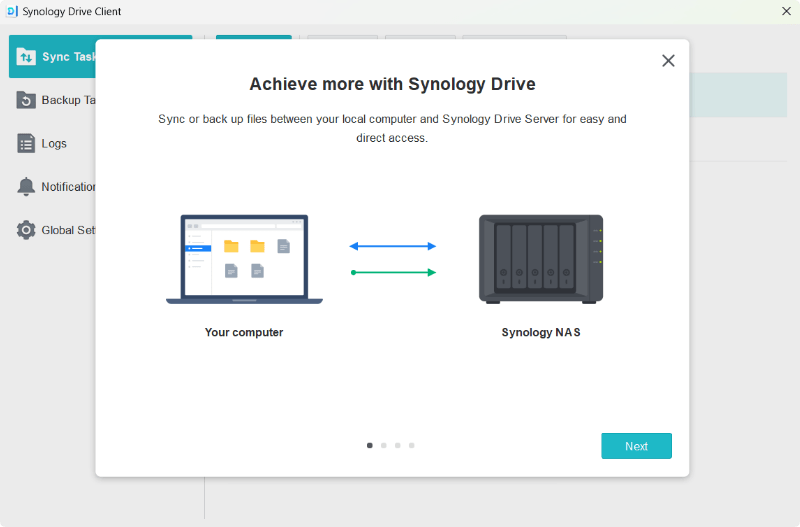
Installation
1. Run the downloaded file
2. Select the English language, click „ОК".
3. In the open window, click "Next"
4. In the next window, click "Accept"
After the installation is complete, check the box "Run Synology Drive Client" and click "Finish"
Connection
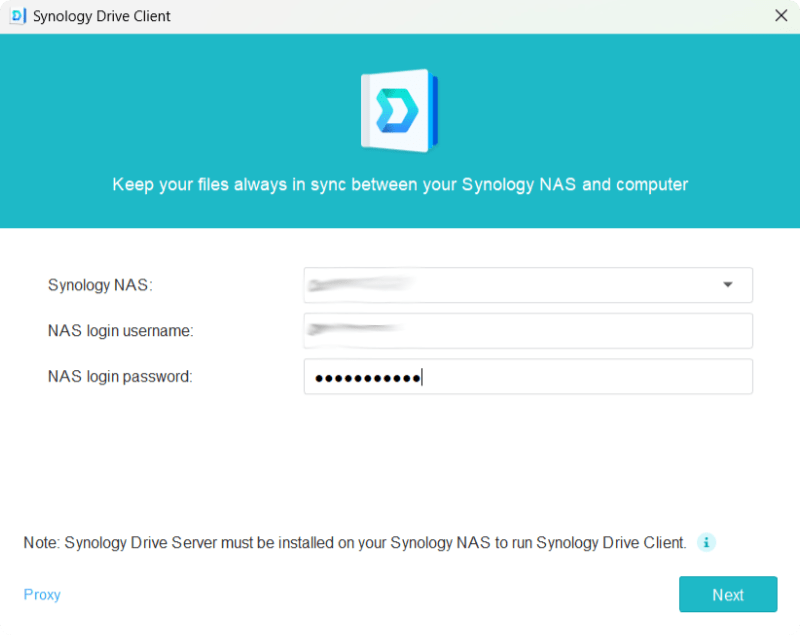
1. In the opened window fill in the following fields:
Domain (Synology NAS): You'll receive it in the email
User name: You'll receive it in the email
Password: You'll receive it in the email
and click "Next".

2. In the next dialog box, click the left item "Sync Task"
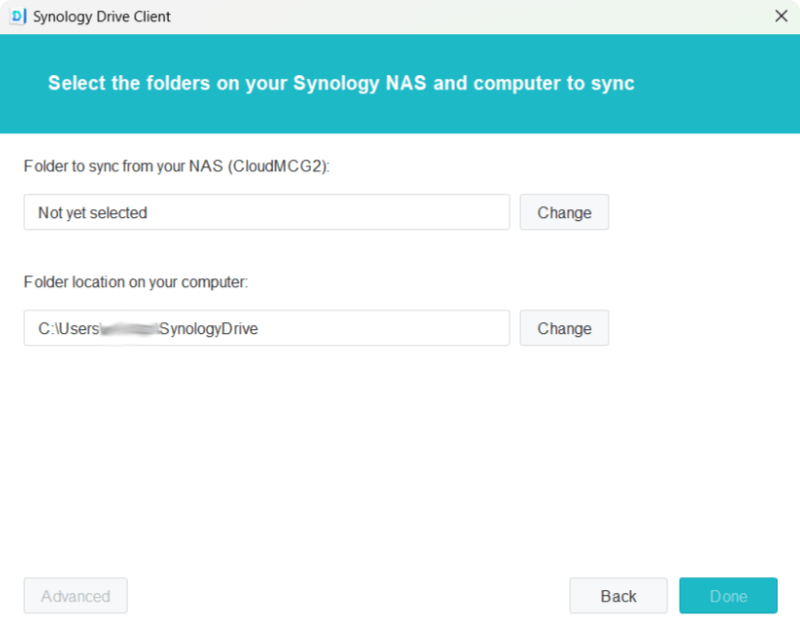
3. In the next window, click "Change" near the "Folder for sync from your NAS" field

4. In the open window, click on the arrow to the left of the "Team folder", select the folder with the name of your organization and click "OK", it will be closed.
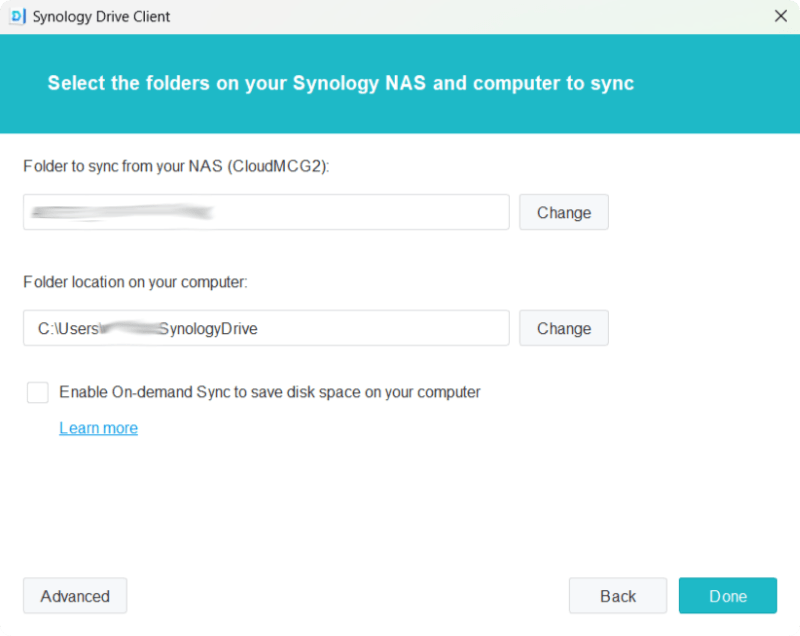
5. Uncheck the "Enable on-demand sync" option.
6. In the next information window, click "Next" several times or close this window.
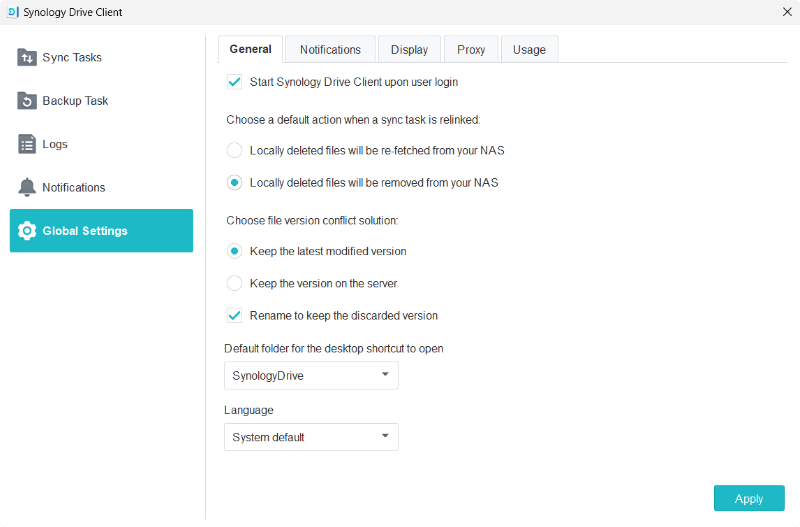
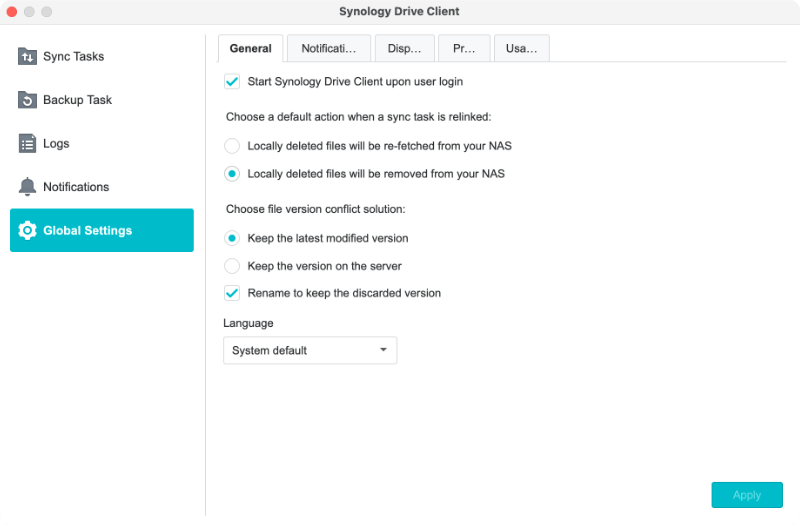
Setup
1. In Synology Drive Client app select "General Settings" from the left menu and put the option next to "Locally deleted files will be removed from the NAS"
Attention! This is a very important for our service.
2. Click "Apply" and close the application.
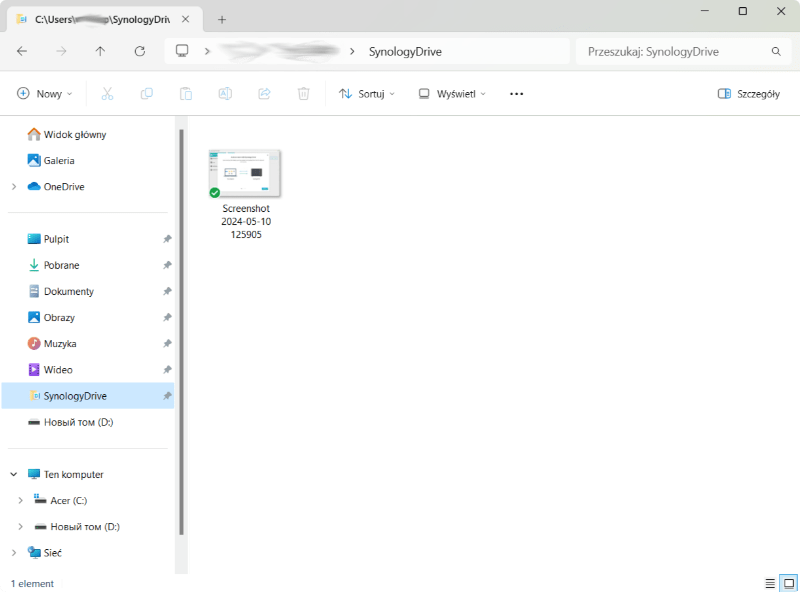
You'll see a shortcut on your desktop that lets you navigate to your cloud storage folder.
For your convenience, you can find the folder of the Cloud storage (By default this is: Disĸ (C:) - Users - Username)
(Default path: Disk (C:) — Users — User name)
and drag it to the "Navigation Pane" on the left, so you can enter the Cloud storage folder from any section of the conductor.
MAC OS
Download the free application Synology Drive Client
Installation
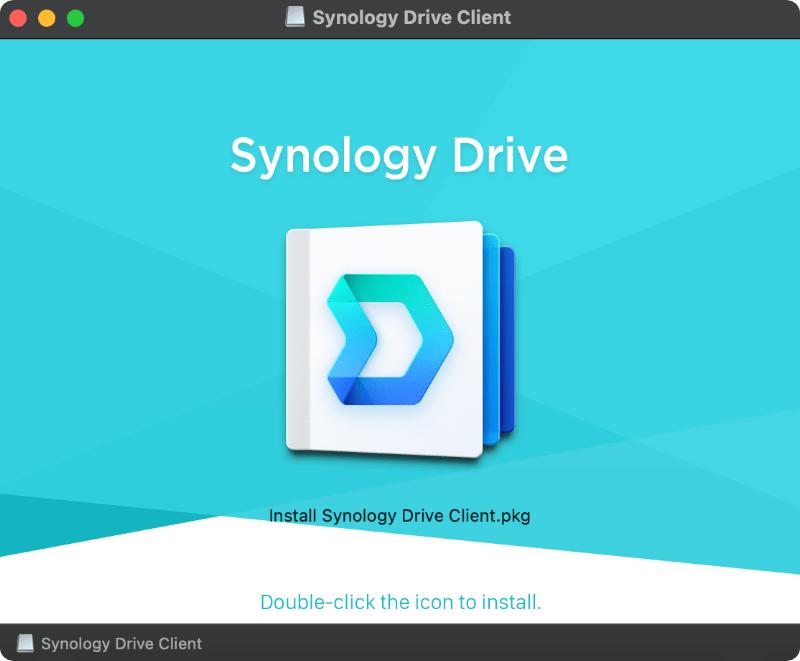
1. Click on the icon of the downloaded application;
2. In the opened window, start the installation;
3. Before installing, the program will ask for permission to use the iСloud drive - click Allow;
4. Then again "Continue" and again "Continue";
5. In the pop-up window, click "Accept";
6. Then click "Install" and "Close" after installation is complete;
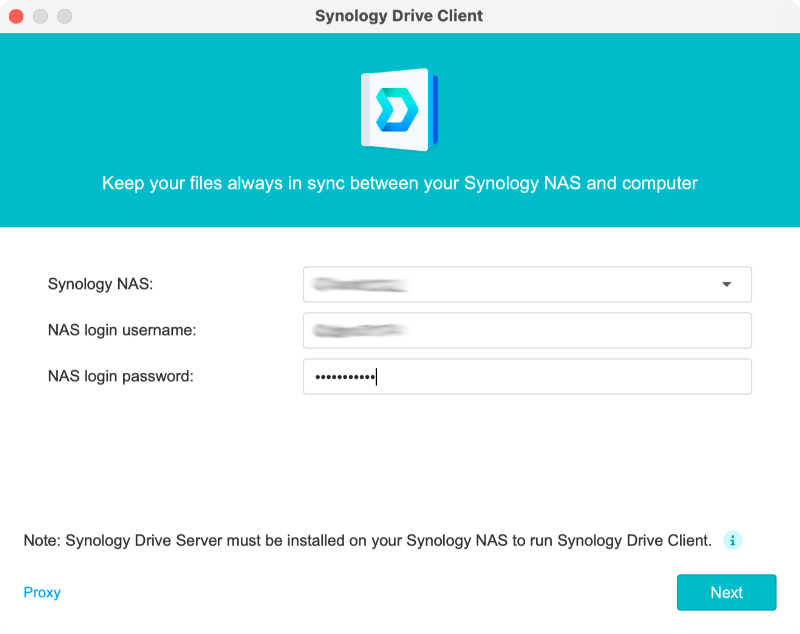
Connection
1. In the opened window fill in the following fields:
Domain (Synology NAS): You'll receive it in the email
User name: You'll receive it in the email
Password: You'll receive it in the email
and click "Next".
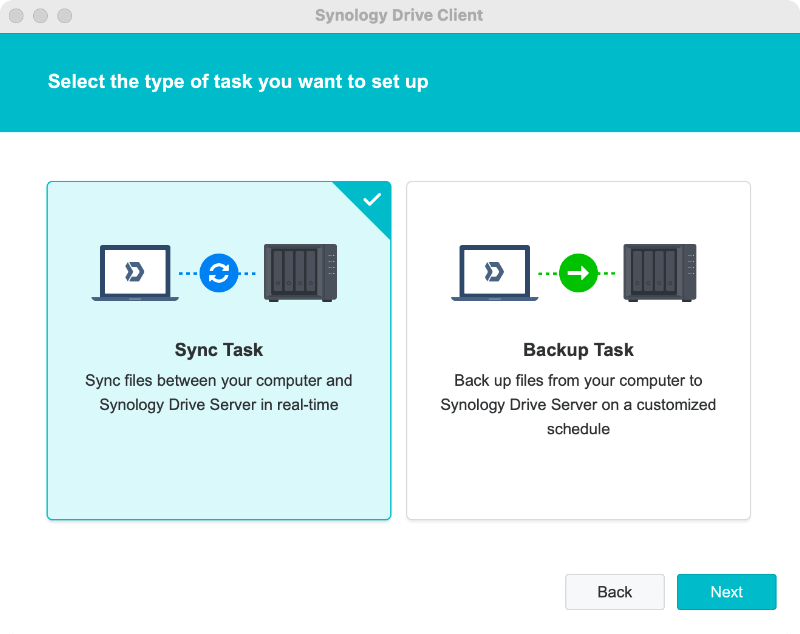
2. In the next dialog box, select the left item "Synс task"
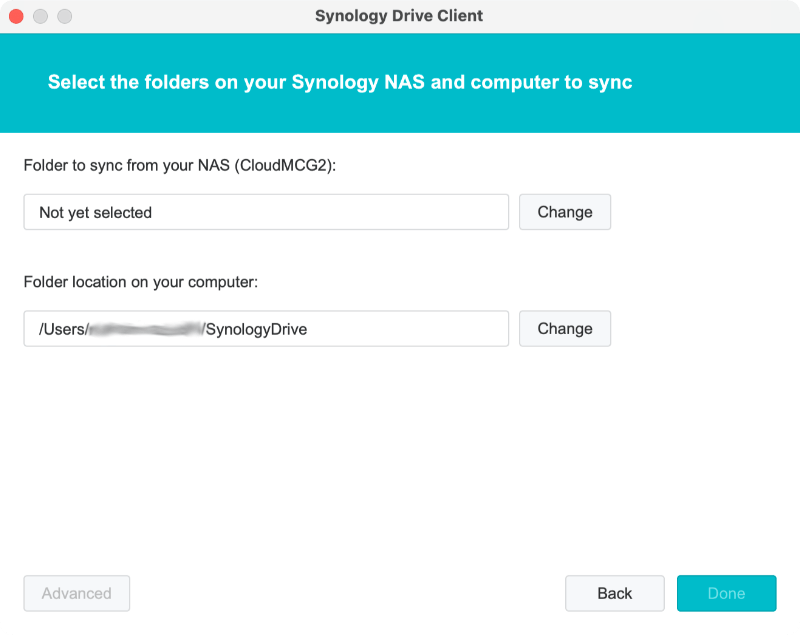
3. In the next window, click "Change" in the item "Folder for sync from your NAS"
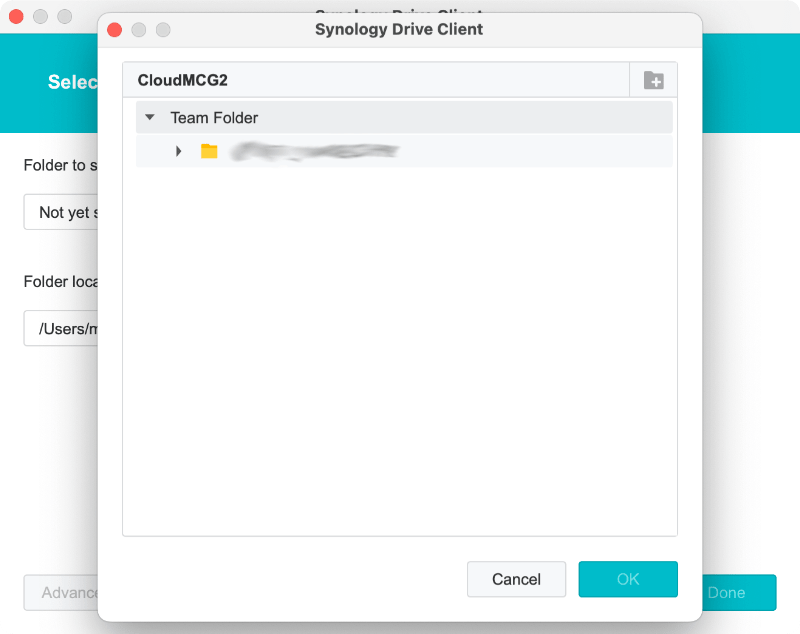
4. In the opened window, click the Left arrow "team Folder", select the folder with your company name and click "OK".
ATTENTION!
Checkbox - Enable on-demand synchronisation - leave unchecked.
Then press "Done".
5. In the next Information window, click "next" several times or close this window.
Setup
1. In Synology Drive Client app select "General Settings" from the left menu and put the option next to "Locally deleted files will be removed from the NAS"
Attention! This is a very important for our service.
2. Click "Apply" and close the application.
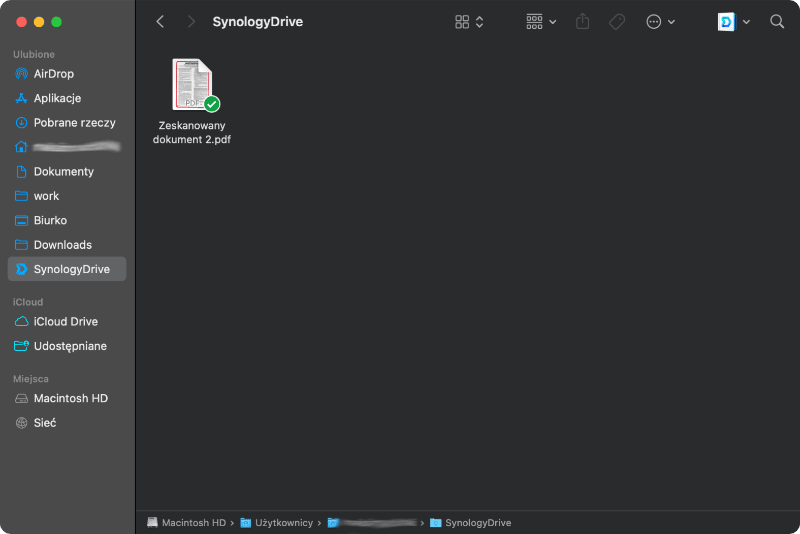
Your cloud storage and document exchange folder will appear in your user's folder, for your convenience, you can drag it to the left pane of the Finder to your favorites, so you can enter the Cloud storage folder from any section of the Finder
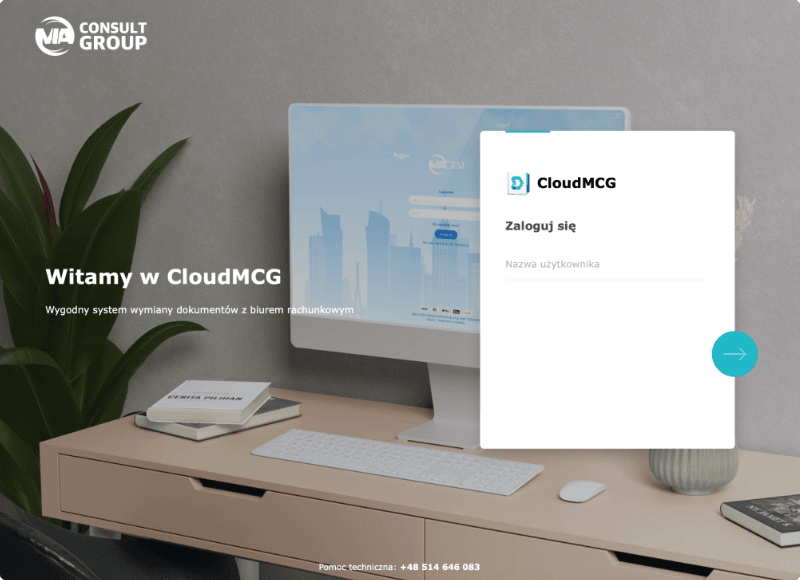
Access from the MIA BIZNES system
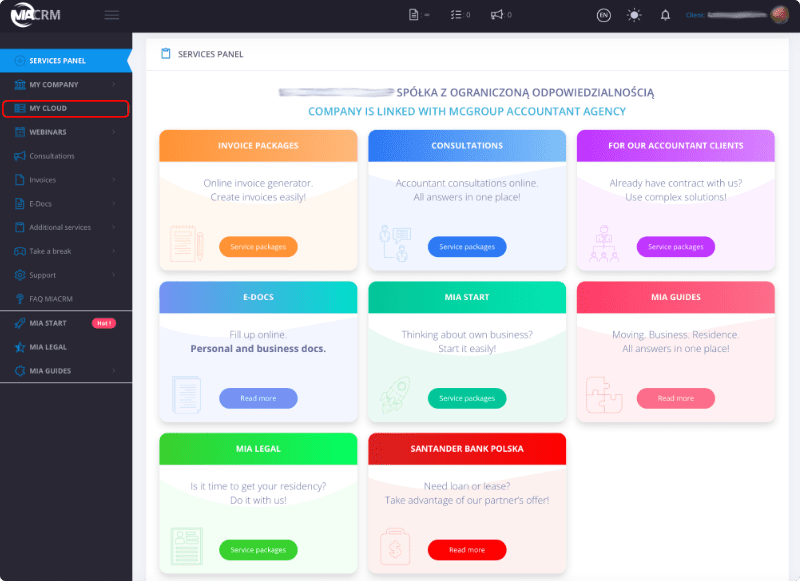
When you receive an email containing your cloud access information, you will have access to the cloud exchange functionality directly from our system MIA BIZNES.
To access cloud storage, select the “My Cloud” section from the system’s left menu.
Connection
In the new window that opens, you must log in:
User name: You'll receive it in the email
Password: You'll receive it in the email
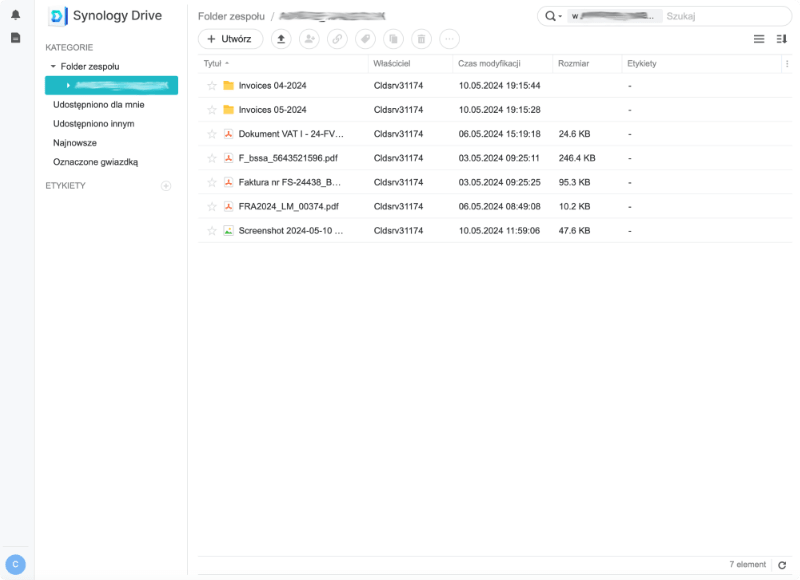
After logging in to the site, select the folder under the name Your company's.
After adding files, they will be immediately visible to the appropriate specialist of our company.
IOS & ANDROID
Our service is available for your use on mobile devices running iOS, iPad OS and Android operating systems
IOS configuration
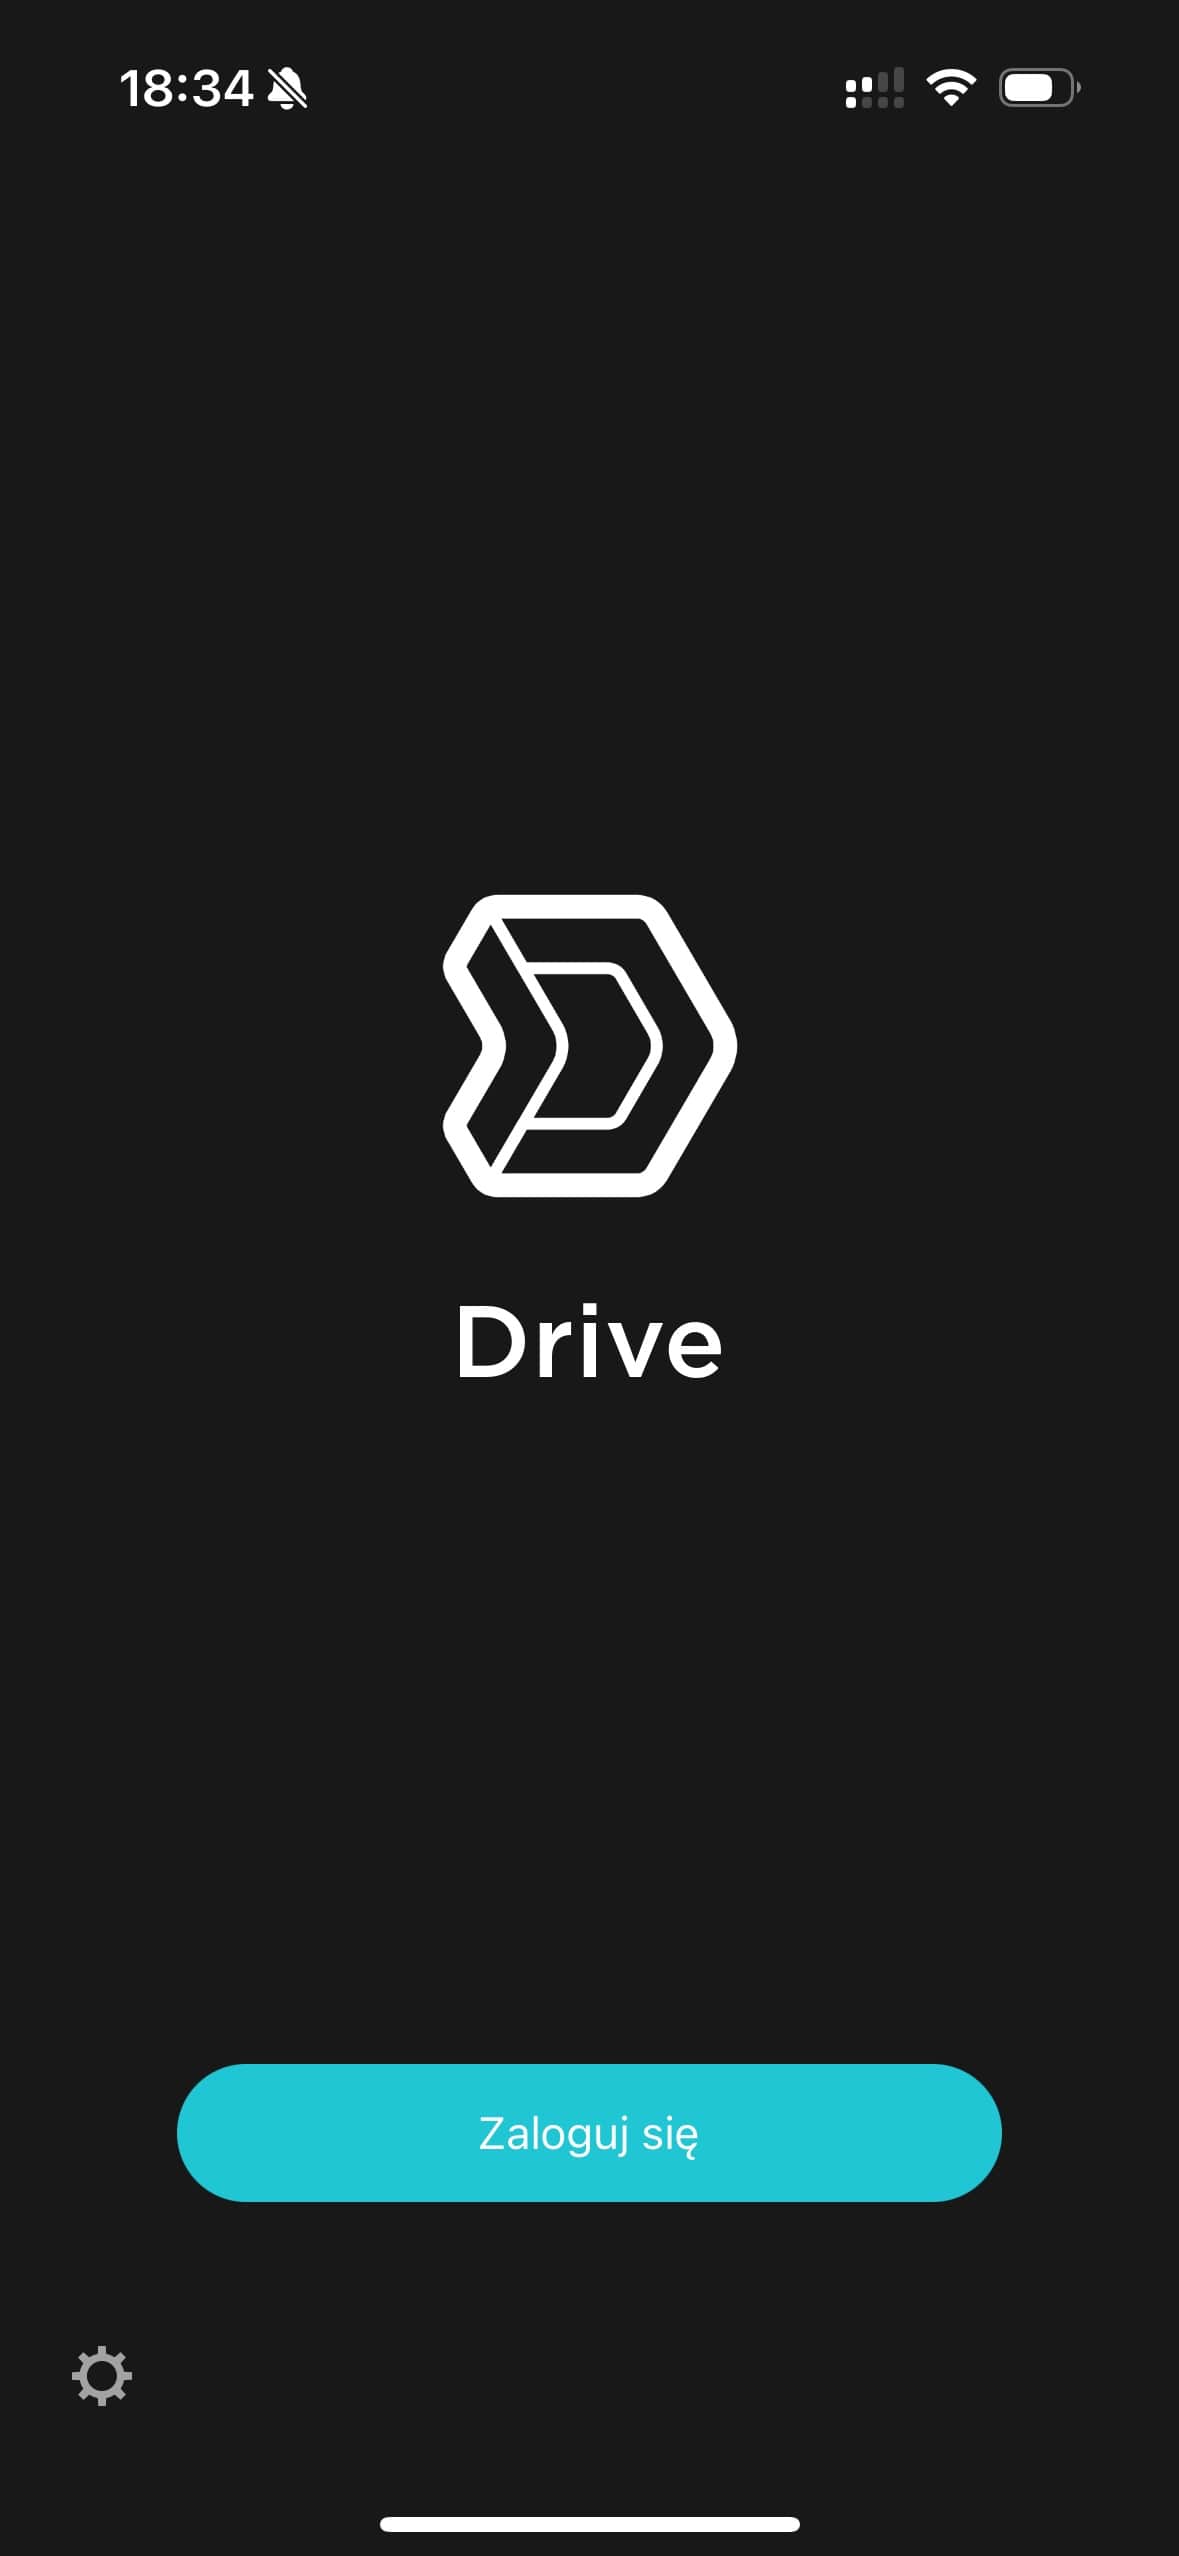
1. Download and install the Synology Drive mobile app.
2. Launch the application and click "log in".
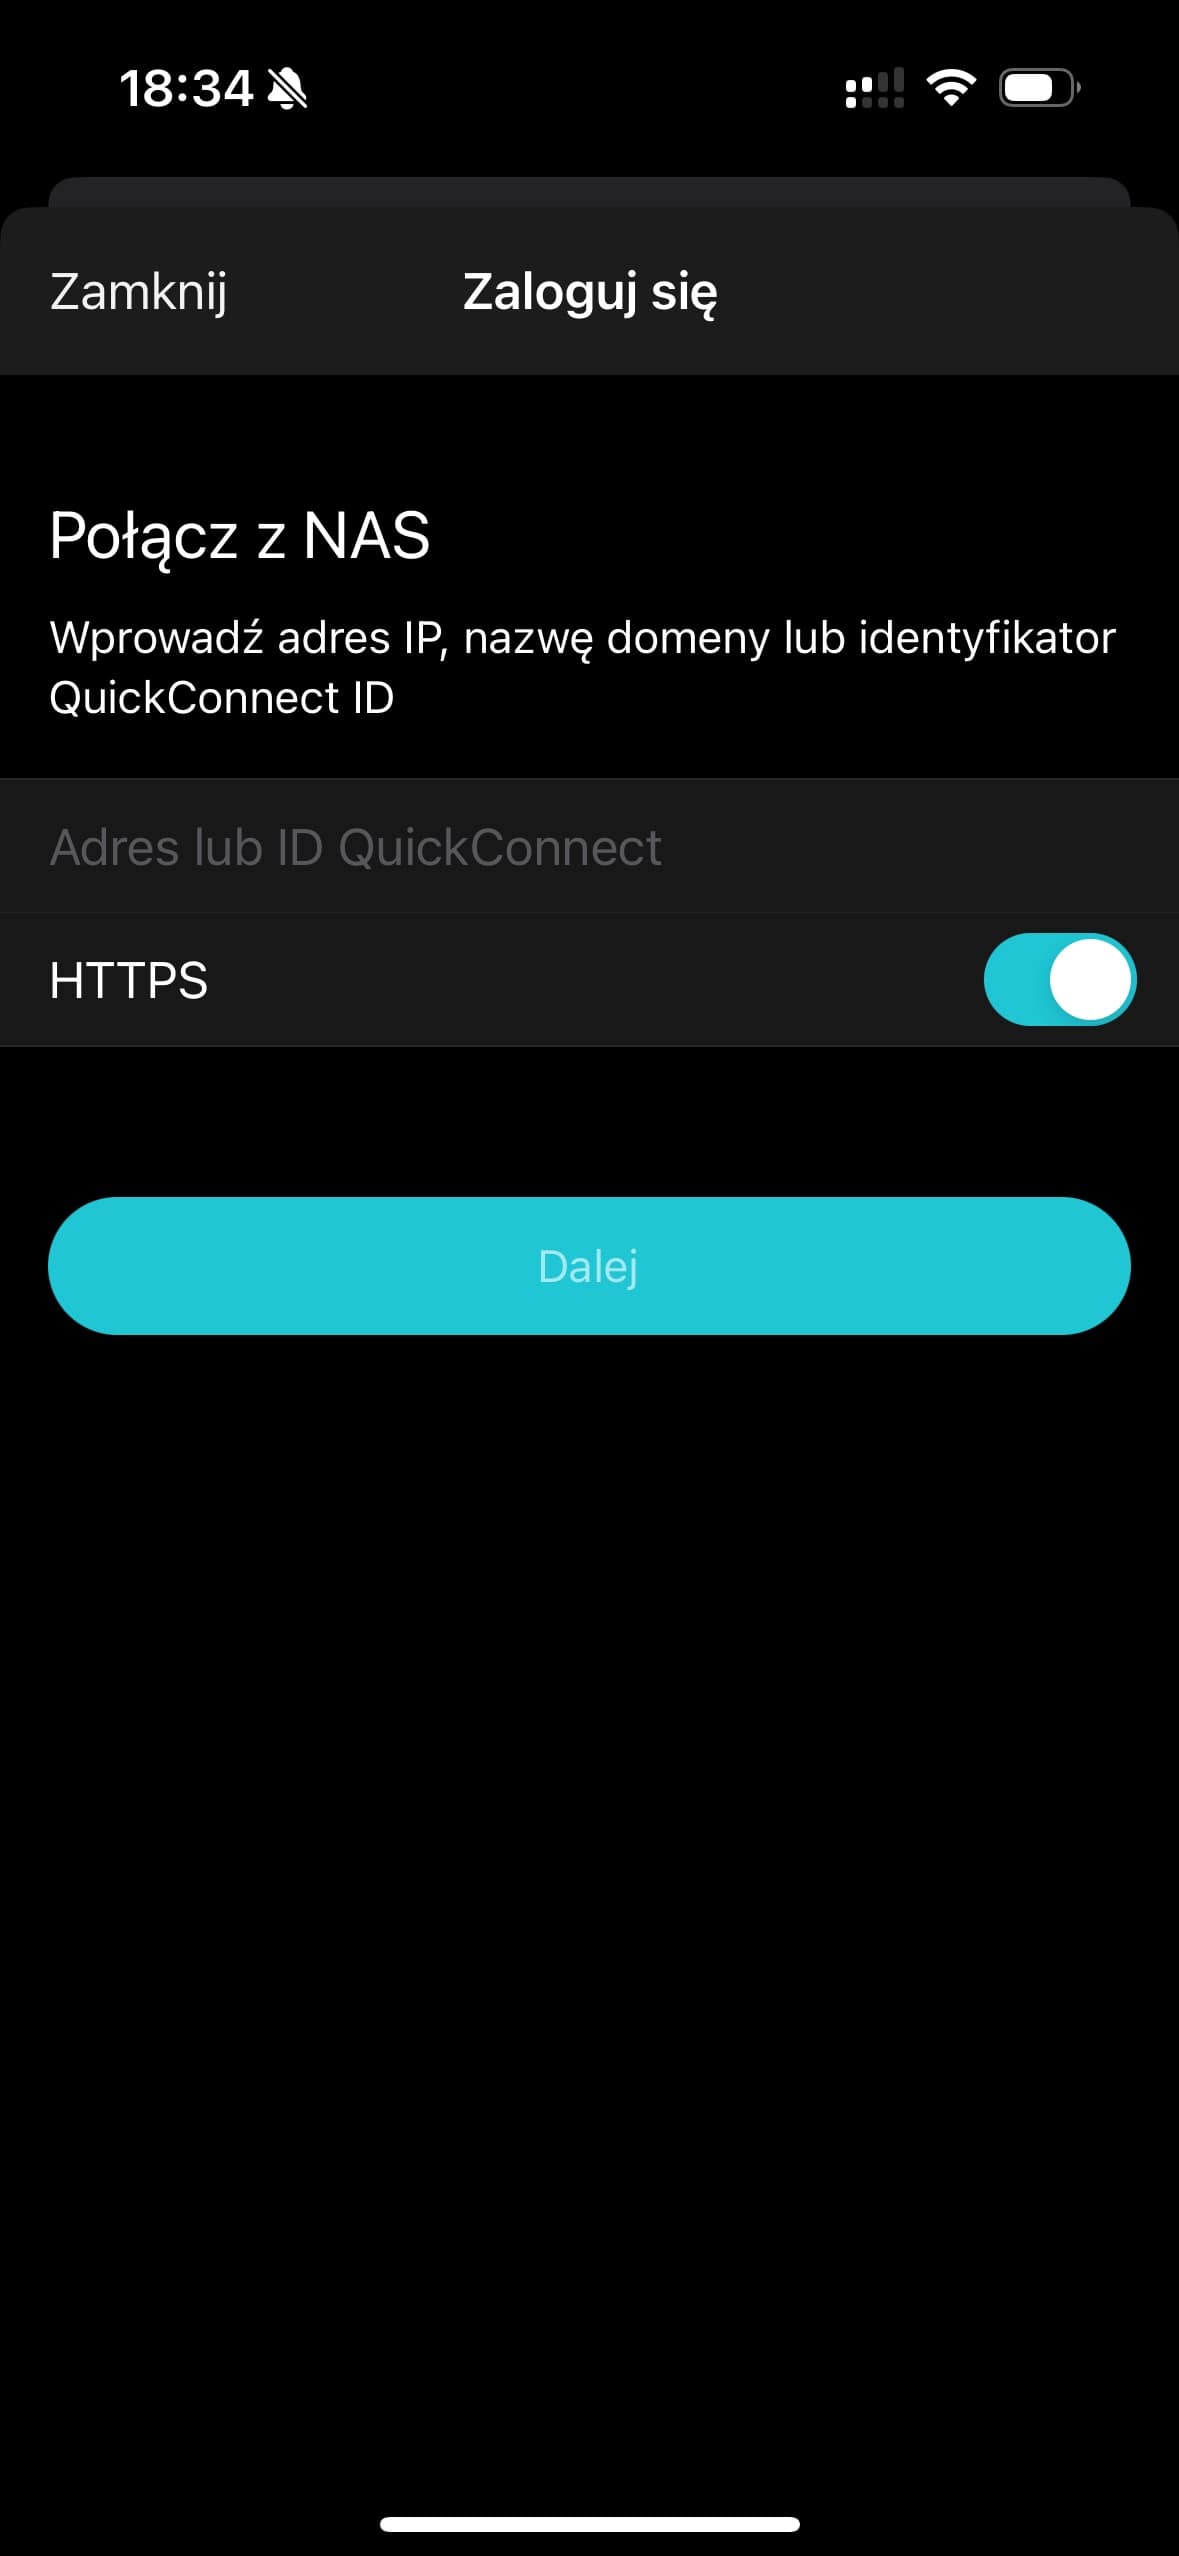
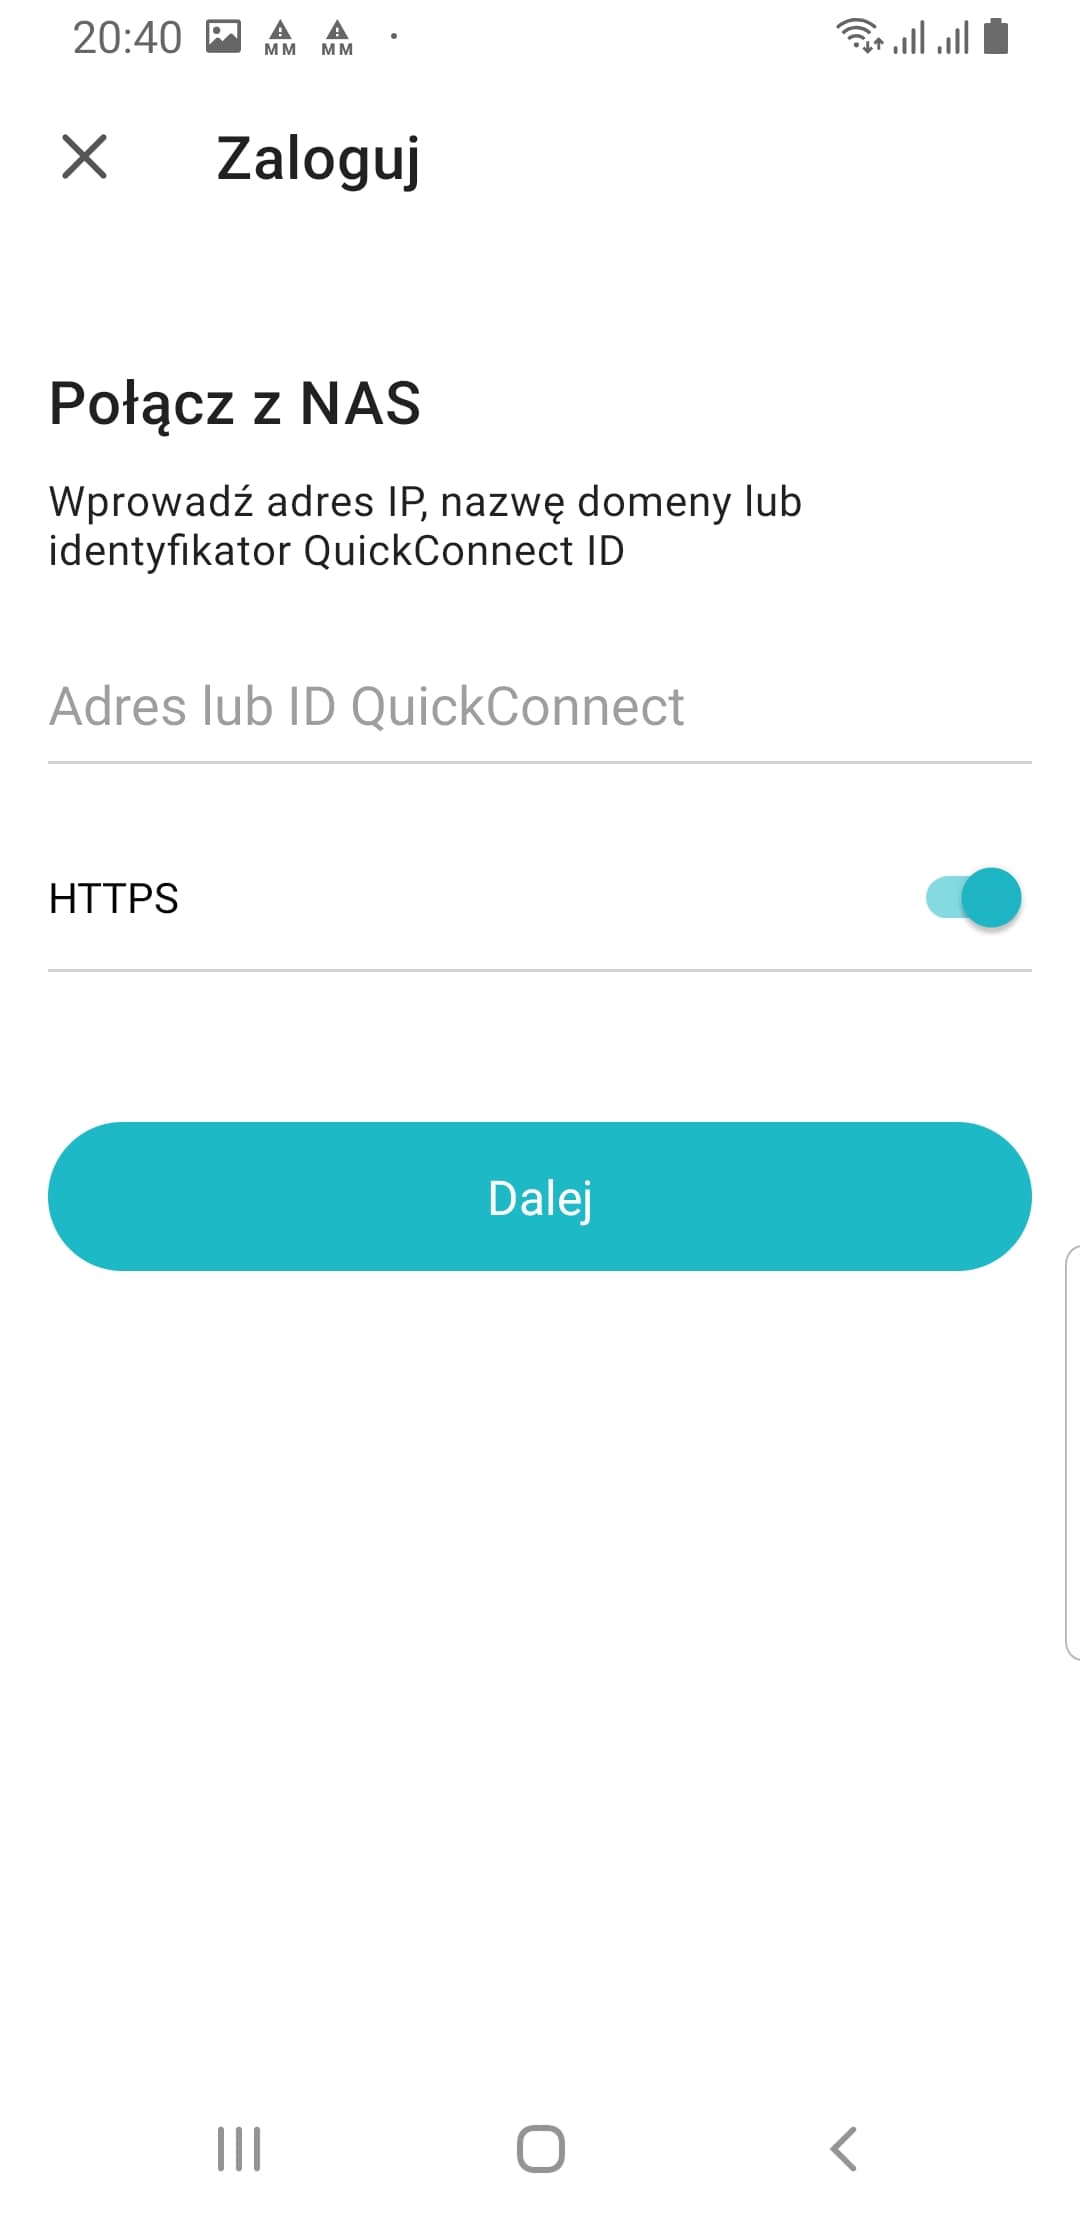
3. In the next window that opens, you need to enter the address:
QuickConnect address or ID: You'll receive it in the email
HTTPS-leave this option on.
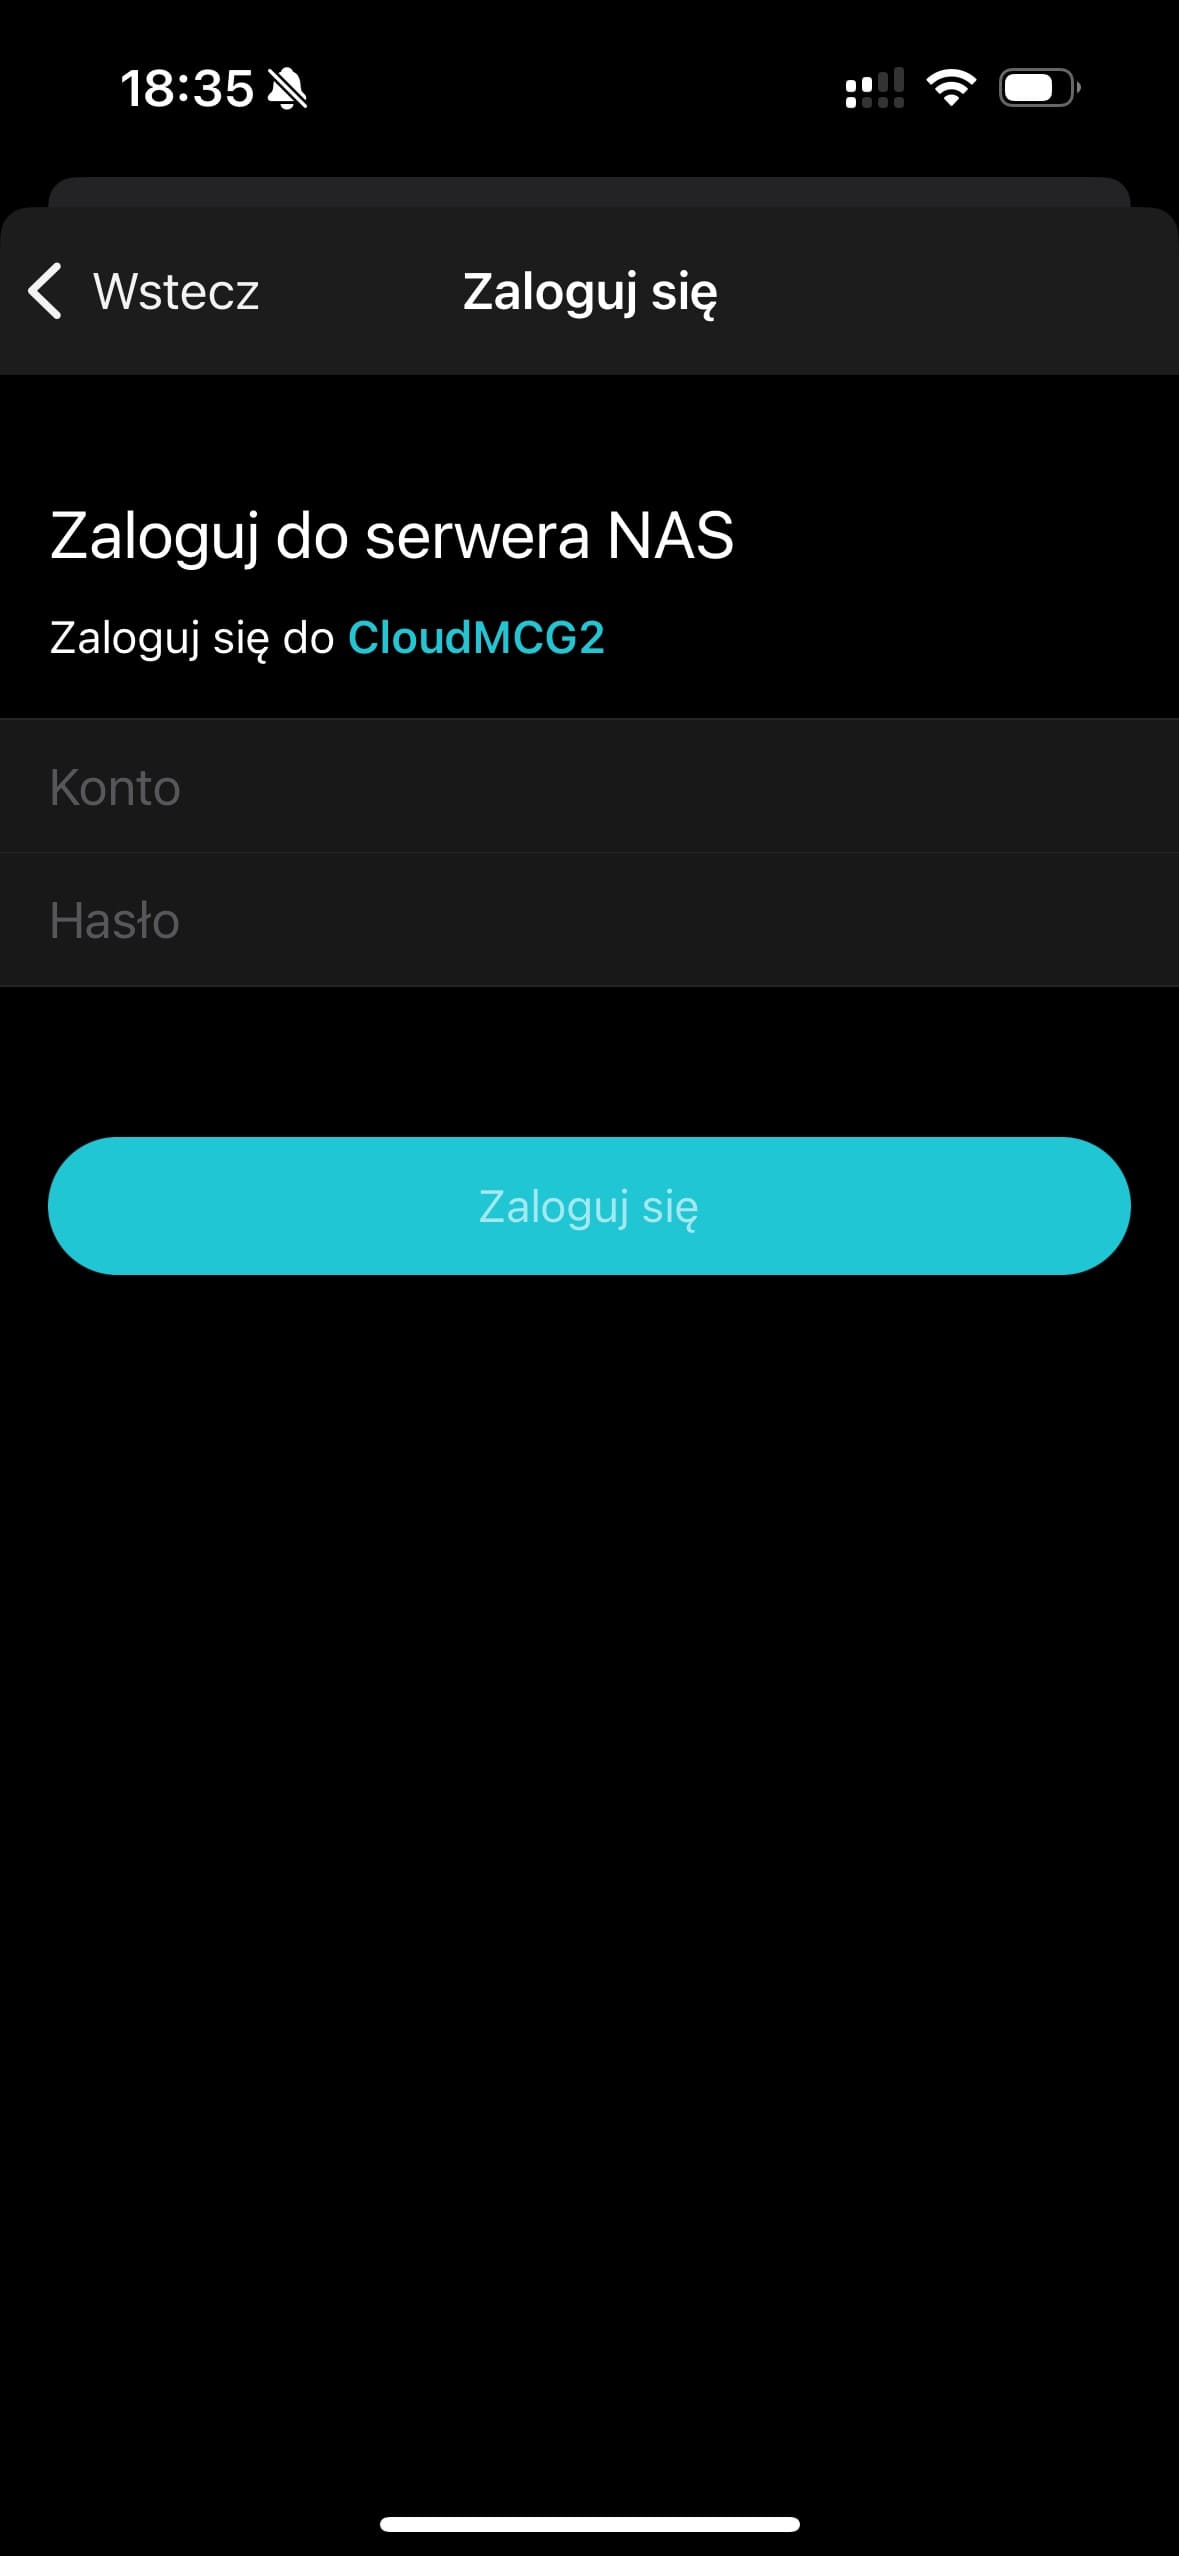
4. In the next window, enter your login and password:
User name: You'll receive it in the email
Password: You'll receive it in the email
Android Configuration
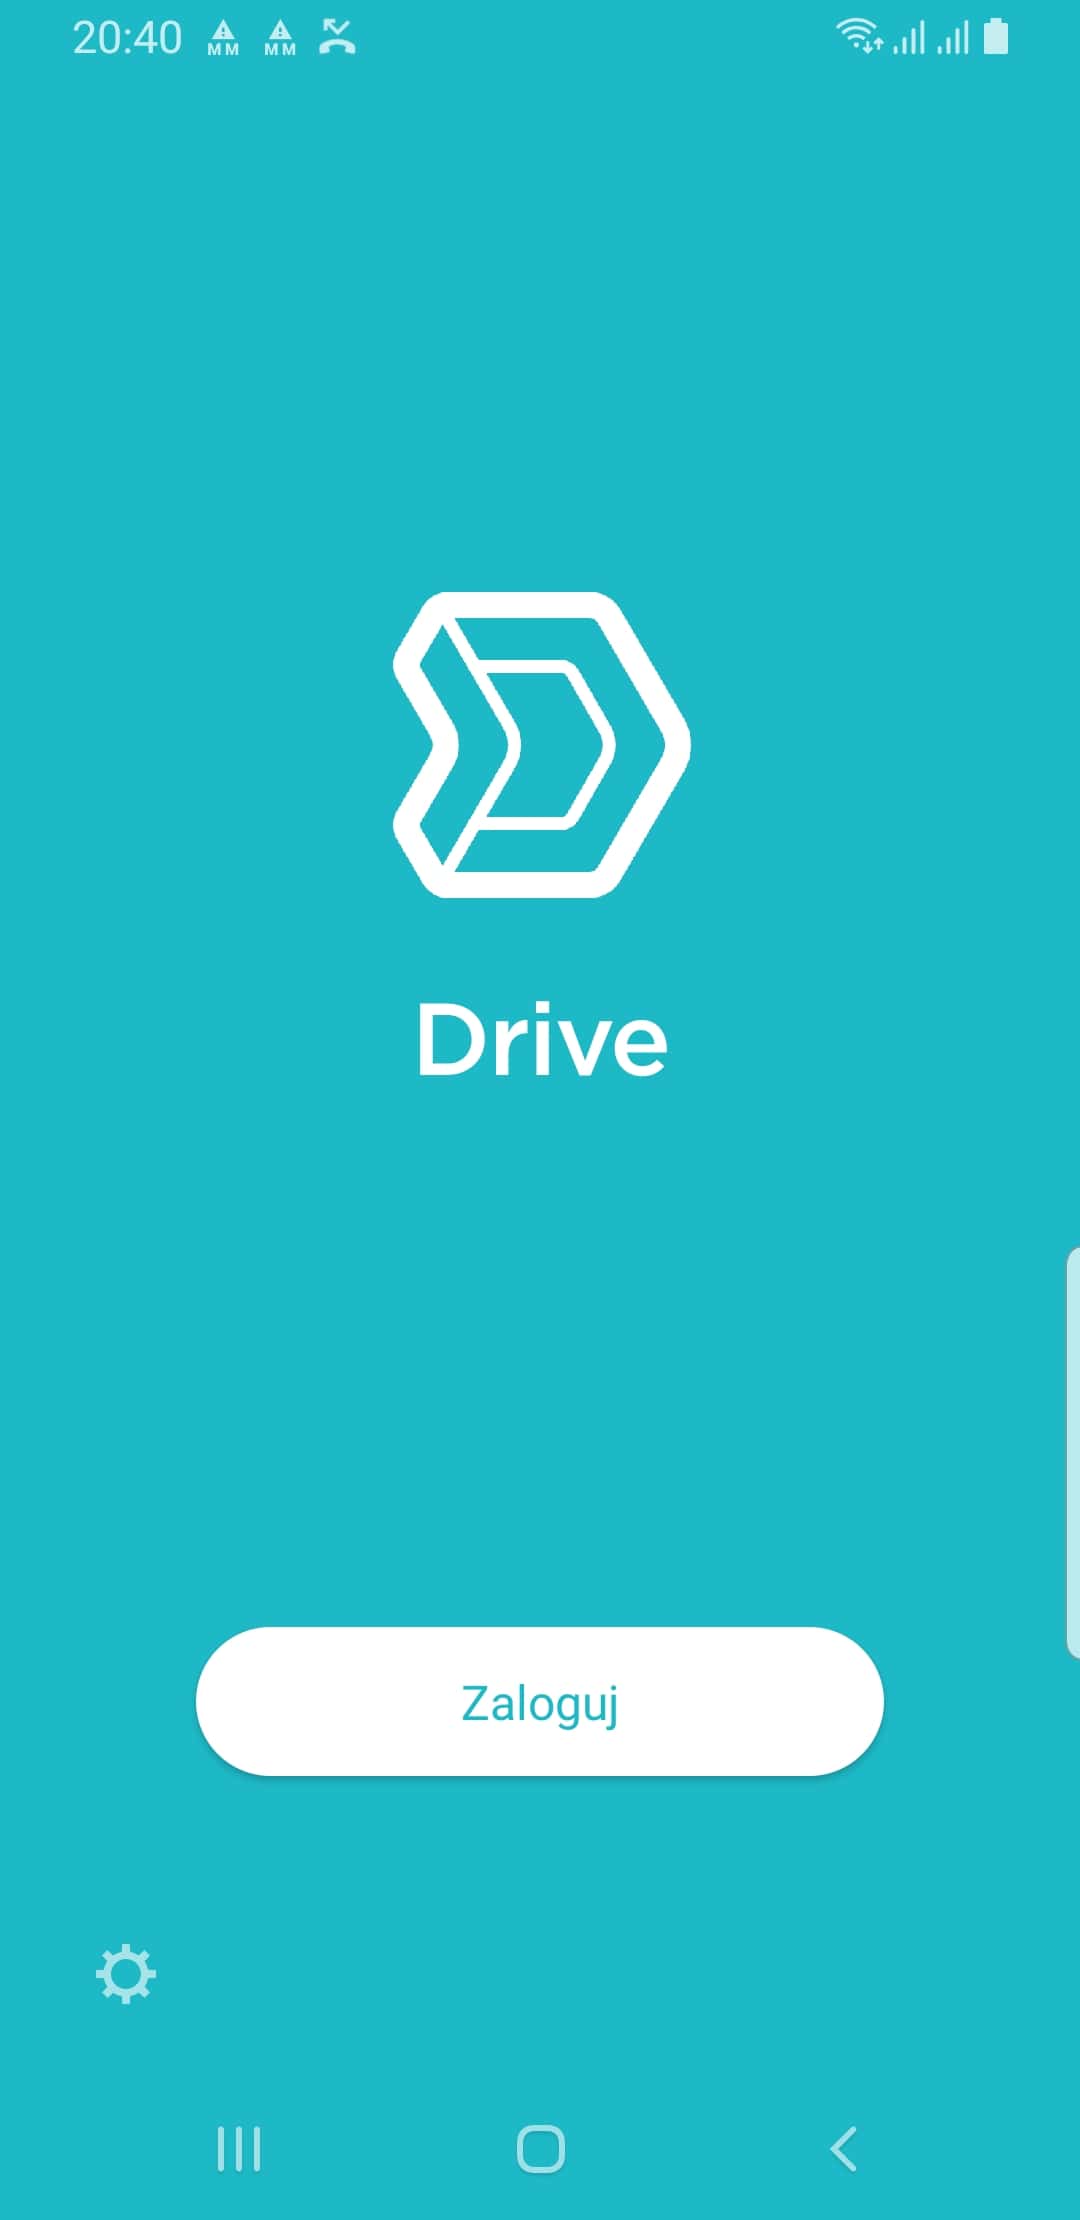
1. Download and install the Synology Drive mobile app.
2. Launch the application and click "log in".
3. In the next window that opens, you need to enter the address:
QuickConnect address or ID: You'll receive it in the email
HTTPS-leave this option on.

4. In the next window, enter your login and password:
User name: You'll receive it in the email
Password: You'll receive it in the email
Even more convenient with the app
The MIA Biznes application.
Download and manage your business comfortably. Don’t miss important events. All the functions of the service are now at your fingertips in one application.
Available on the App Store and Google Play (coming soon).
Need help?
We are at your disposal and happy to assist you in using MIA BIZNES.
Send your request via the contact form, and we will get back to you as soon as possible.


Your request has been sent successfully!
Our specialist will contact you shortly.

Your request has been sent successfully!
Thank you for your request.


Sign in
Forgot your password?
Don’t have an account yet?
Sign upSign up
Complete verification
W ciągu 15 minut od rejestracji kod weryfikacyjny zostanie wysłany na podany
przez Ciebie
e-mail.
Forgot your password?
Change password
Enter the confirmation code received by e-mail and the new password.


Your request has been sent successfully

Our specialist will contact you during business hours
as soon as it is possible.